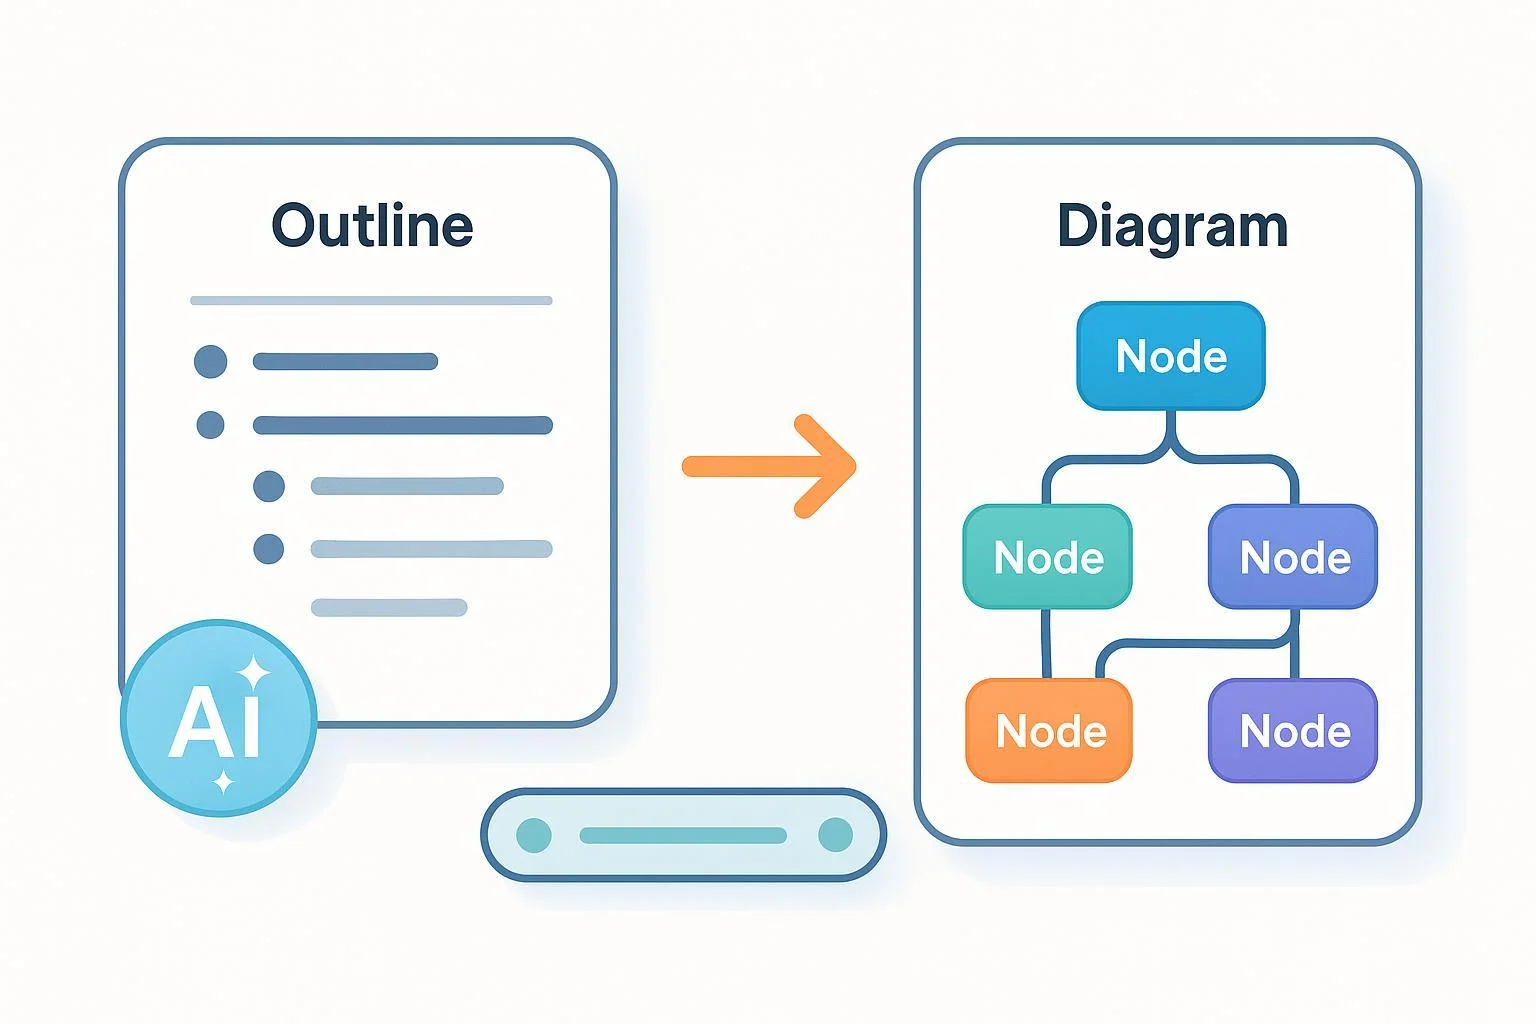
If you have one day to turn ideas into a clear diagram, this guide walks you from a WPS AI–generated outline to a polished ProcessOn mind map or flowchart—without getting lost in formats or fiddly setup. You’ll generate a solid outline, clean it for import, choose the right diagram type, build efficiently in ProcessOn, collaborate the same day, and export a shareable file.
- Time: 1 day (2–4 hours focused work; remainder for review)
- Difficulty: Beginner to intermediate
- You’ll make: A mind map or flowchart built from an AI‑assisted outline
What you need
- WPS Office with access to WPS AI (Docs/Slides)
- A ProcessOn account (free tier works for basic diagrams)
Tip before you start: Work toward a “minimum viable diagram” first—structure and key labels—then style and enrich if time allows.
Step 1: Generate a clean, hierarchical outline with WPS AI
Your goal is a 3–4‑level outline with consistent hierarchy (topic → section → subpoints). WPS AI can draft a structured framework you refine. WPS confirms that its AI can generate structured outlines for presentations and content in “AI Slides,” including prompt‑driven creation and outline tweaking, as explained in WPS Academy’s 2025 AI Slides guide.
Suggested prompt patterns
- Topic-to-outline (fast start)
- “Act as an instructional designer. Create a 3‑level outline for a beginner guide on ‘[your topic]’. Limit each subpoint to 8 words. Include 5 sections, each with 3–4 subpoints. Avoid duplicates.”
- Section-by-section deepening (more control)
- First: “Draft a top-level outline on ‘[your topic]’ with 5 sections.”
- Then, for each section: “Expand Section 2 into 3–4 concise subpoints, 8 words max each.”
Refine quickly
- Ask WPS AI to “regenerate,” “merge overlapping bullets,” or “reduce to exactly 3 levels.”
- Keep node text short; you can add notes later in ProcessOn.
Checkpoint (1–2 minutes)
- You see a consistent hierarchy with clear indentation (H1/H2/H3 or bullets).
- Each bullet is one idea, 3–8 words.
- Redundant bullets are removed or merged.
Step 2: Normalize your outline and save it for transfer
Why this matters: A tidy hierarchy saves hours later. The most common time sink is fixing messy indents after import.
Do this
- Copy the AI output into WPS Writer (or keep it in Docs/Slides—Writer is just easiest for text cleanup).
- Convert to a consistent structure:
- Option A (Headings): Apply Heading 1 → Heading 3.
- Option B (Bullets): Use nested bullets with consistent indentation.
- Enforce one idea per line. Trim to phrase‑length labels.
- Remove synonyms and duplicates.
- Save a working copy as TXT (plain text) or DOCX. I usually pick TXT because it preserves simple indentation without hidden formatting.
Note: WPS Office supports exporting to PDF for sharing (Menu → Export to PDF), documented in the WPS Writer “save as PDF” quick tutorial (2025). For building in ProcessOn, prefer TXT or DOCX—not PDF.
Checkpoint
- Your outline shows either clean Heading levels or clearly indented bullets.
- No line exceeds ~10 words.
Step 3: Decide—mind map or flowchart?
- Choose a mind map when you’re organizing topics, brainstorming, creating study notes, or showing hierarchical relationships. ProcessOn’s mind map editor supports templates, themes, and easy export, as outlined on the ProcessOn Mind Maps page.
- Choose a flowchart when you’re visualizing a process with decisions, inputs, and outputs (e.g., onboarding steps, troubleshooting paths). You can still start from your outline; you’ll map top‑level bullets to major stages, then add decision/connector nodes.
If unsure, start as a mind map to validate structure; later, you can translate branches into a flowchart.
Step 4: Bring your outline into ProcessOn (three reliable paths)
Method A — Import a supported mind‑map file
- If you can convert your outline into XMind, MindManager, FreeMind, OPML, POS, VSDX, or CSV, ProcessOn can import those. The import entry points and formats are noted in the ProcessOn Getting Started guide (2025). From your personal file page, create a new mind map or import directly.
- Bridge idea: If you already use an outliner or mind‑mapping app that exports OPML or XMind, export there, then import into ProcessOn.
Method B — Speed‑build inside ProcessOn
- Create a new mind map in ProcessOn, pick a template that fits your topic, and paste top‑level sections as first‑level nodes. The Simple mind map tutorial explains basic structure and templates.
- Then add children for subpoints. Many editors follow common conventions like Enter for sibling and Tab for child—try them and/or check the in‑editor help/“?” for current shortcuts.
Method C — Last‑resort bridge via another tool
- If plain text doesn’t import as expected, use a free mind‑mapping tool to paste your outline, export to OPML or XMind, and import that file into ProcessOn. It’s an extra hop but often preserves hierarchy well.
Checkpoint after import/build
- Top-level nodes match your main sections.
- Each subpoint sits under the correct parent.
- No flattened lists (if you see flattening, revisit your source indenting or use the OPML/XMind bridge).
Step 5: Shape your diagram for clarity and review
Pick a structure and theme
- For mind maps: Balanced/central, right‑tree, fishbone, or timeline layouts. Choose whatever best matches your content type (e.g., fishbone for causes/effects). ProcessOn exposes structures and themes in the editor; the Mind Maps page and tutorials showcase options like templates and “Export As,” as described on the ProcessOn Mind Maps page.
Keep nodes concise
- 3–8 words per node; expand details in notes if needed.
Add visual cues
- Icons for status or priority; labels for categories; short notes for definitions or references.
For flowcharts
- Use standard shapes (terminator, process, decision). Keep consistent spacing and direction.
- If connectors tangle, switch layout or use align/distribute tools.
Collaborate the same day
- Share the diagram via link and grant edit permissions to teammates for real‑time co‑editing—this flow is explained in the ProcessOn Getting Started guide (2025).
Checkpoint
- Branches are easy to scan.
- Styling helps recognition but doesn’t overwhelm the structure.
- Share link works; at least one colleague can access and comment/edit.
Step 6: Export and hand off
- When ready, export your diagram. ProcessOn supports exporting images (PNG/JPG), SVG, and PDF from the editor’s upper right or the Download menu, per the ProcessOn Mind Maps page and the Getting Started guide (2025).
- About Visio: You can import .vsdx into ProcessOn, but official docs do not confirm exporting back to .vsdx. This import capability is shown in the ProcessOn circuit diagram tutorial. If collaborators need Visio, share a PDF/SVG for viewing and keep a POS/XMind source copy for future edits.
Checkpoint
- You have a distributable file (PDF/SVG/PNG) and an editable source in your ProcessOn workspace.
Mapping cheat sheet: Outline to ProcessOn nodes
| Outline element (WPS) | Mind map node | Flowchart element |
|---|---|---|
| Document title | Central topic | Start/End label (or title box) |
| H1 / top bullet | First‑level branch | Major phase/process box |
| H2 / nested bullet | Second‑level node | Sub‑process or step |
| H3 / deeper bullet | Third‑level node | Sub‑step or annotation |
| Cross‑references | Label/icon/note | Connector to related step |
| Decision question | Tag or separate branch | Decision diamond |
Tip: If many branches exceed three levels, consider splitting them into their own mind maps or sub‑flows to keep readability.
Quick walkthrough (example)
- Topic: “Employee Onboarding Workflow.”
- WPS AI prompt (topic-to-outline): “Three‑level outline, 5 sections: Preboarding, First Day, First Week, First 30 Days, First 90 Days. 3–4 subpoints each, 8 words max.”
- Normalize: Merge duplicate “IT setup” bullets; limit each to 6–8 words.
- Build in ProcessOn: Mind map with balanced layout; one branch per phase; nodes for tasks.
- Review: Share link for HR and IT to co‑edit checklist details.
- Export: PDF for the handbook; SVG for embedding in the wiki.
Troubleshooting and fast fixes
Flattened hierarchy after import
- Cause: inconsistent indents/headings.
- Fix: Rebuild consistent bullets (Tab for child, no mixed formats) or bridge via OPML/XMind before re‑import.
Text too long to read
- Fix: Shorten nodes to keywords; move explanations to notes.
Tangled flowchart connectors
- Fix: Switch layout orientation; align/distribute shapes; introduce sub‑flows to reduce crossings.
Can’t find the right structure
- Fix: Try a different mind map structure (right‑tree vs balanced) or use a ProcessOn template as a starting scaffold (see the Simple mind map tutorial).
Stakeholders can’t open/edit
- Fix: Re‑copy the share link and check permissions; the share/edit flow is outlined in the Getting Started guide (2025). If external viewers can’t edit, export PDF for viewing.
Need to collaborate with Visio users
- Fix: Import their .vsdx into ProcessOn. For outbound, use PDF/SVG plus keep an editable ProcessOn source; export to .vsdx isn’t documented (see the circuit diagram tutorial).
10-minute final QA checklist
- Structure
- Central topic and first‑level branches reflect your top outline sections.
- No branch exceeds three child levels without a good reason.
- Clarity
- Each node is 3–8 words; jargon minimized.
- Decision points in flowcharts use standard shapes.
- Consistency
- Styles and spacing are uniform; related items share labels/icons.
- Function
- Share link works for at least one reviewer; permissions correct.
- Exported PDF/SVG opens cleanly and is readable when printed or zoomed.
- Source hygiene
- Editable copy saved in ProcessOn; backup exported (e.g., POS/XMind).
You’re done—your AI‑drafted outline is now a clear, shareable diagram you can present or publish today.